Creation and Use of Notebook |
In SuperMap iServer data science service, you can create and run a Notebook by creating or uploading an existing Notebook . If there is input or output in Notebook, before running Notebook, make sure that the input or output data and the file directory where it is located have permissions that all users can read and write.
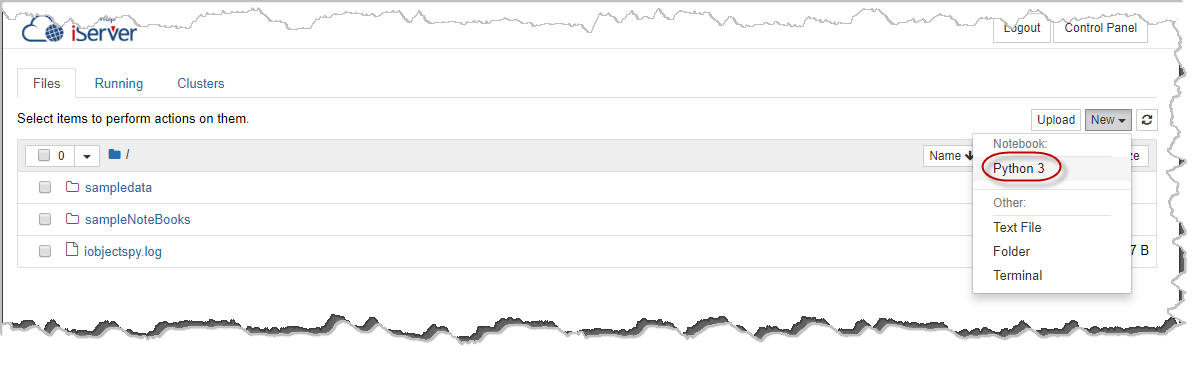
Open the data science service home page->click My Server and enter Notebook Editor-> under the File function bar, click the new drop-down menu-> select Python 3 under Notebook, as shown in the following figure.
After completing the above steps, you have successfully created a blank Notebook and will immediately jump to the Notebook page, where you can write, run code, and edit information about the project.
Open the data science service home page-> click My Server and enter Notebook Editor-> Under the Files function bar, click Upload-> select Notebook in your computer. Through the above operations, you can upload the existing Notebook in your computer. Upload to Notebook Editor.
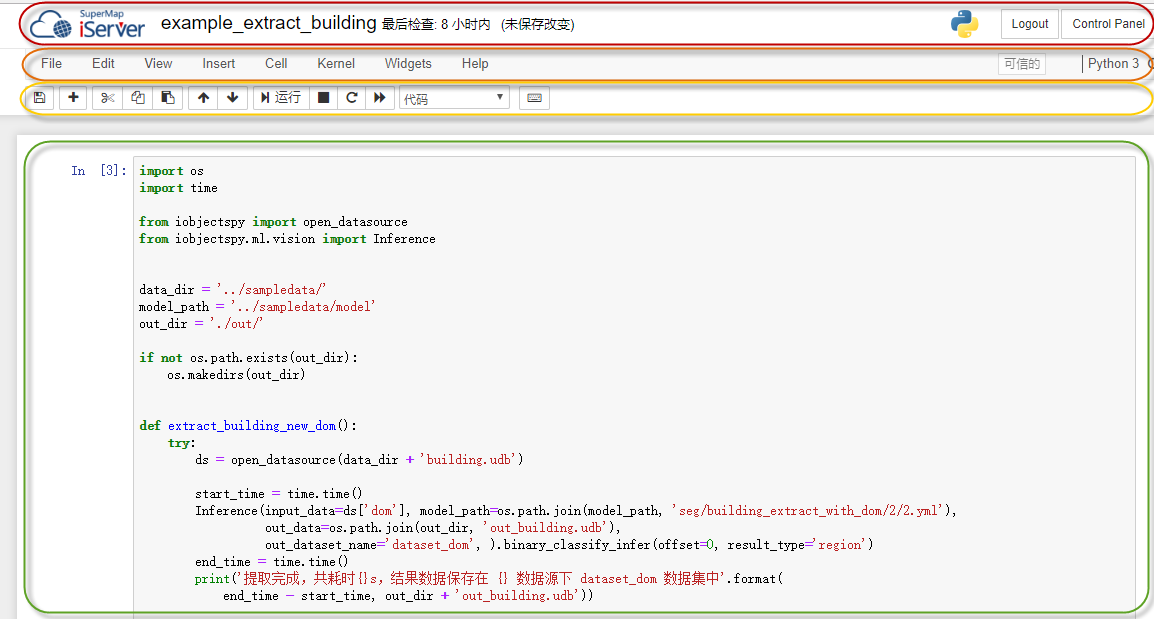
Here we take the building extraction of the example Notebook as an example to introduce the components of Notebook Editor:
Top navigation bar: Display and edit the current Notebook indicate the last checkpoint of the Notebook and save the information. Log in/out. Open the Control Panel. For example, the name of the Notebook in this example is Example_extract_building, you can click the name of the Notebook in the navigation bar, enter a new name in the pop-up dialog box, and click the "Rename" button to Notebook Rename.
Function menu: Mainly includes the following functions:
File: In this function bar, you can open, create, copy, rename, save as, and download Notebook and other operations; at the same time, Notebook can be closed, stopped and trusted; in addition, functions such as saving checkpoints and restoring to a checkpoint can also be realized.
Edit: You can paste, cut, split, merge, move, and edit metadata in cells.
View: Hide or display toolbars, row numbers, headers, etc., and select cell toolbars.
Insert: Inserts a blank cell above or below the current cell.
Cell: Run the currently selected cell or all cells, run the currently selected cell All cells above/below, run cell and select/insert below, cell type, current output, all outputs.
Kernel: Break, restart, reconnect, change kernel; restart the calculation process and clear the output, restart the calculation process and run all cells, and close the calculation process.
Help: Includes user interface tutorials, access/edit keyboard shortcuts, Notebook Help, Markdown Help, and Jupyter Notebook.
Common toolbar: Including saving Notebook, selecting cell type, inserting, cutting, pasting, copying code block, running, stopping, restarting service, etc.
Work space: The contents of a Notebook, which can include multiple cells.
Use the big data-related demonstration Notebook that comes with SuperMap iServer data science service to show you how to use it:
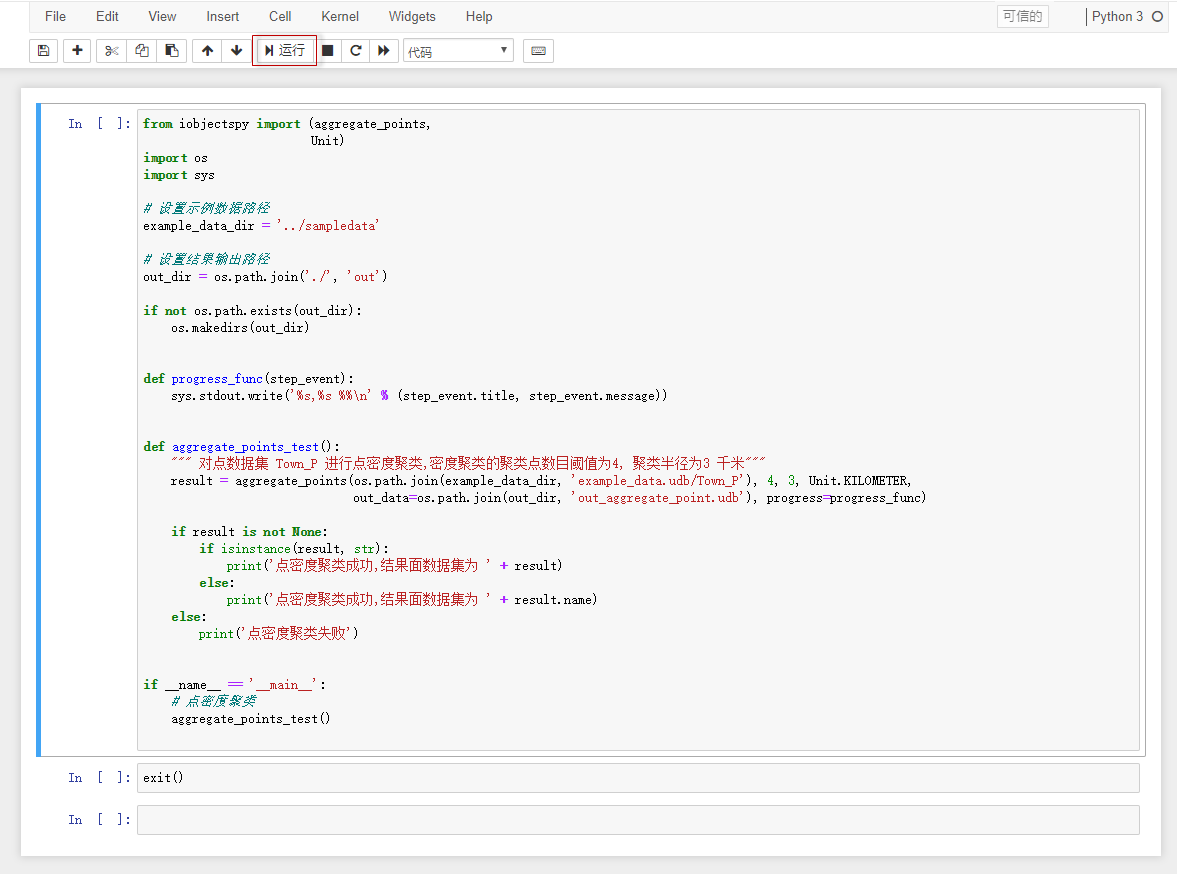
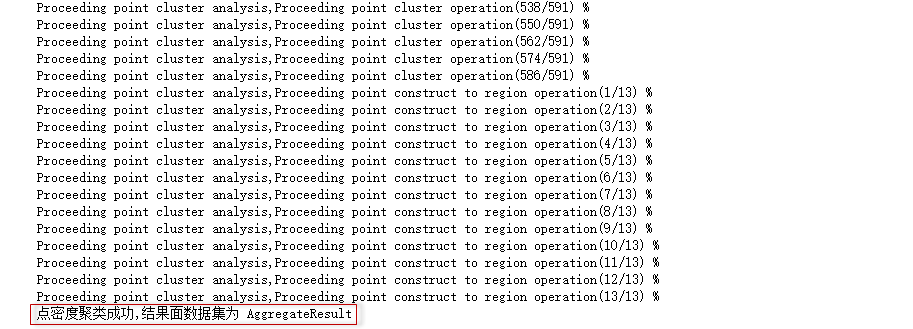
The notebook(example_aggregate_points.ipynb) provides the ability to perform point density clustering on a point data set.
The notebook can be run by clicking the "Run" button on the toolbar. As shown in the following figure:
After running, you can view the detailed running progress and results, as shown in the following figure. It can be seen that the point density clustering is successful, and the result is an AggregateResult dataset.
The notebook(example_clip_raster) provides the ability to clip the image data.
The notebook can be run by clicking the "Run" button on the toolbar. As shown in the following figure:
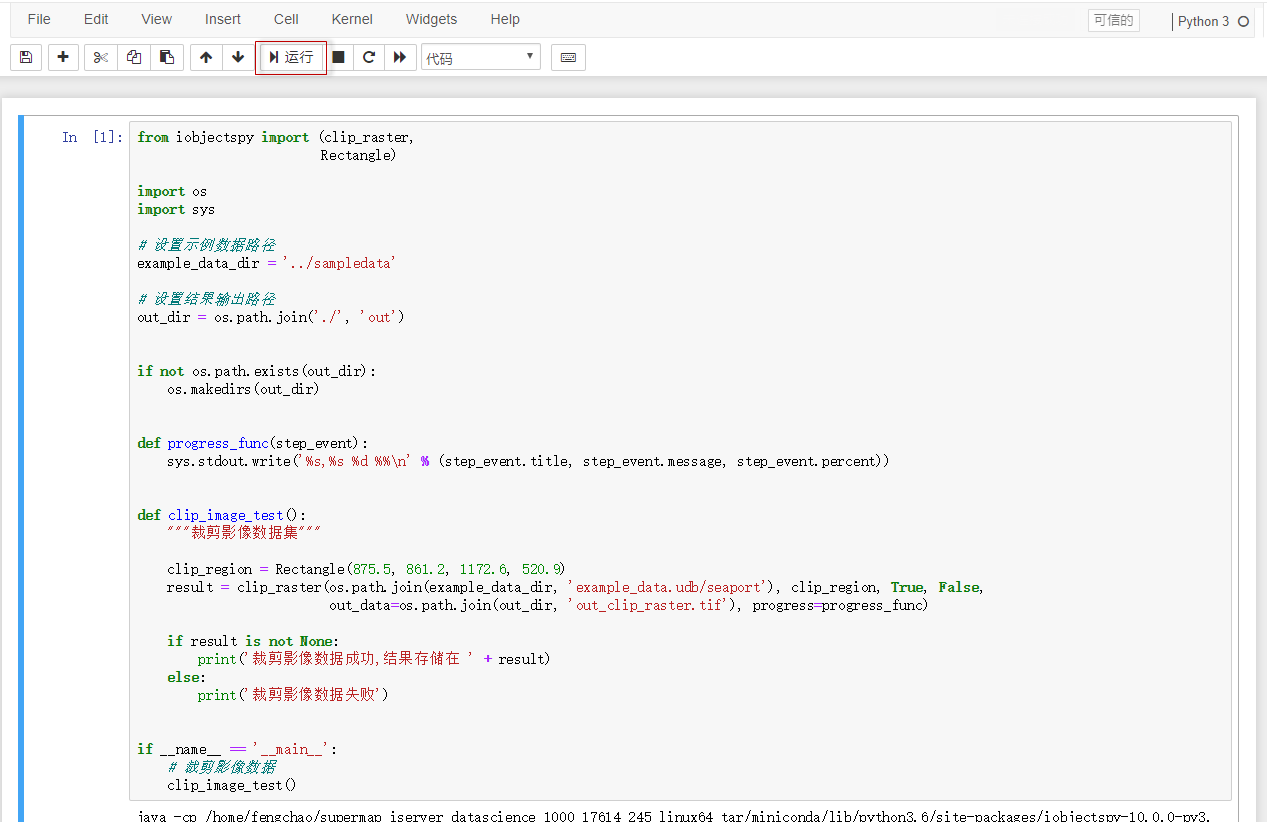 After running, you can view the detailed running progress and results, as shown in the figure below. The clipping result is a TIFF. format of the image file.

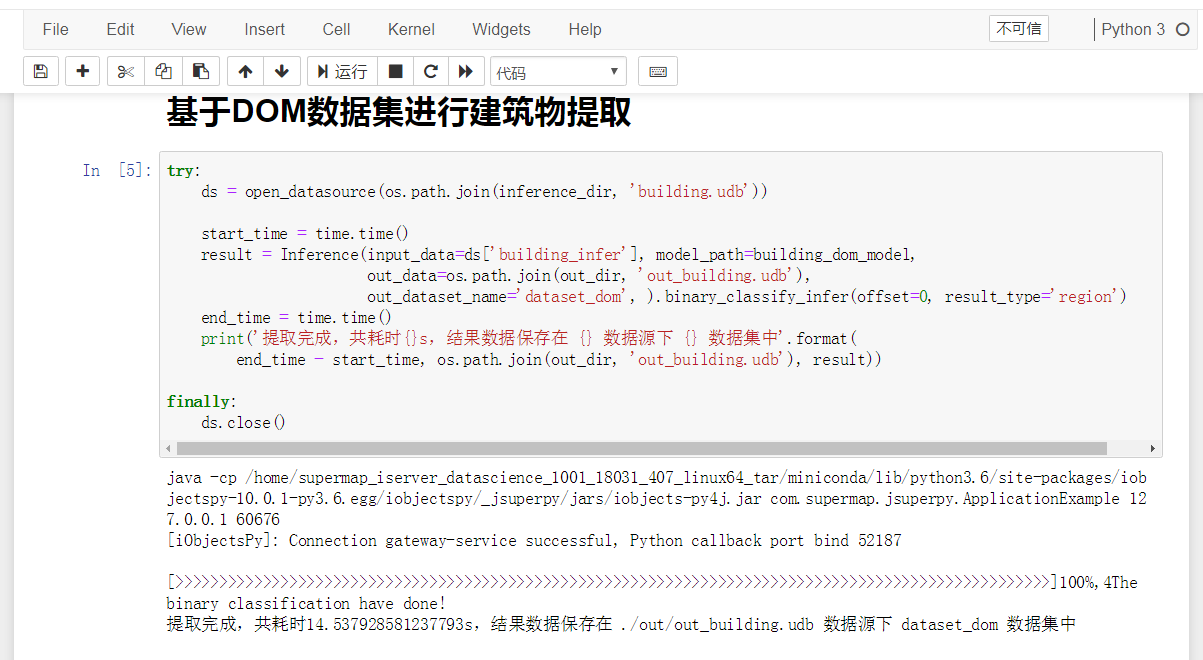
example_binary_classification_infer_building.ipynb, it provides the ability to extract the bottom of the building based on the DOM image file.
The notebook can be run by clicking the "Run" button on the toolbar.
After running, you can view the detailed running progress and results, as shown in the following figure: